Indians usually opt for the National Pension System (NPS) for retirement planning. While investing in it is straightforward, the withdrawal process has a few specific steps. One of them is getting an NPS Claim ID.
You may retire soon or consider an early exit. Either way, you should know how to generate a Claim ID in NPS.
What is an NPS Claim ID?
It is a unique 10-digit reference number. The Central Recordkeeping Agency (CRA), either Protean (formerly NSDL) or KFintech, generates the ID. It acts as a tracking mechanism for your withdrawal application.
Without a valid Claim ID, online withdrawal requests and exit applications cannot be processed. The ID legitimises the request. Then, CRA can map your application to your Permanent Retirement Account Number (PRAN).
When is an NPS Claim ID Generated?
Claim ID generation’s timing depends entirely on the type of exit you are making. The process varies for superannuation (retirement) versus premature exit.
- Superannuation Retirement at the Age of 60: CRA system-generated Claim ID, six months in advance from the date of birth or date of retirement. Subscribers must check the same at the CRA portal for its availability, updated bank, and nominee details before proceeding.
- Early Exit-Approvals: Exits before the age of 60 will not generate a Claim ID automatically but instead have to be triggered manually.
- Death Claims: If the subscriber passes away, the nominee or legal heir must approach the Point of Presence (POP) or Nodal Office. In many online modules, the Nodal office can initiate the claim directly without a pre-generated ID. But offline processes may still require one.
Documents Required to Generate NPS Claim ID
Before learning how to generate Claim ID in NPS, you should have the necessary paperwork. While the generation process itself is digital, the subsequent withdrawal request needs the following documents.
| Document Type | Specific Requirement |
| PRAN Card | Copy of the original PRAN card. |
| Identity Proof | Aadhaar, PAN Card, or Passport. |
| Address Proof | Aadhaar, Voter ID, or Utility Bill (less than 3 months old). |
| Bank Proof | Cancelled cheque (with name printed), Passbook, or Bank Statement. |
Note: Most withdrawal rejections happen when accounts in banks are inactive, IFSC codes entered inaccurately, or when customers’ name discrepancies exist in records at CRA and bank proof. Bank details in CRA records must be exactly similar to bank proof for successful penny-drop verification.
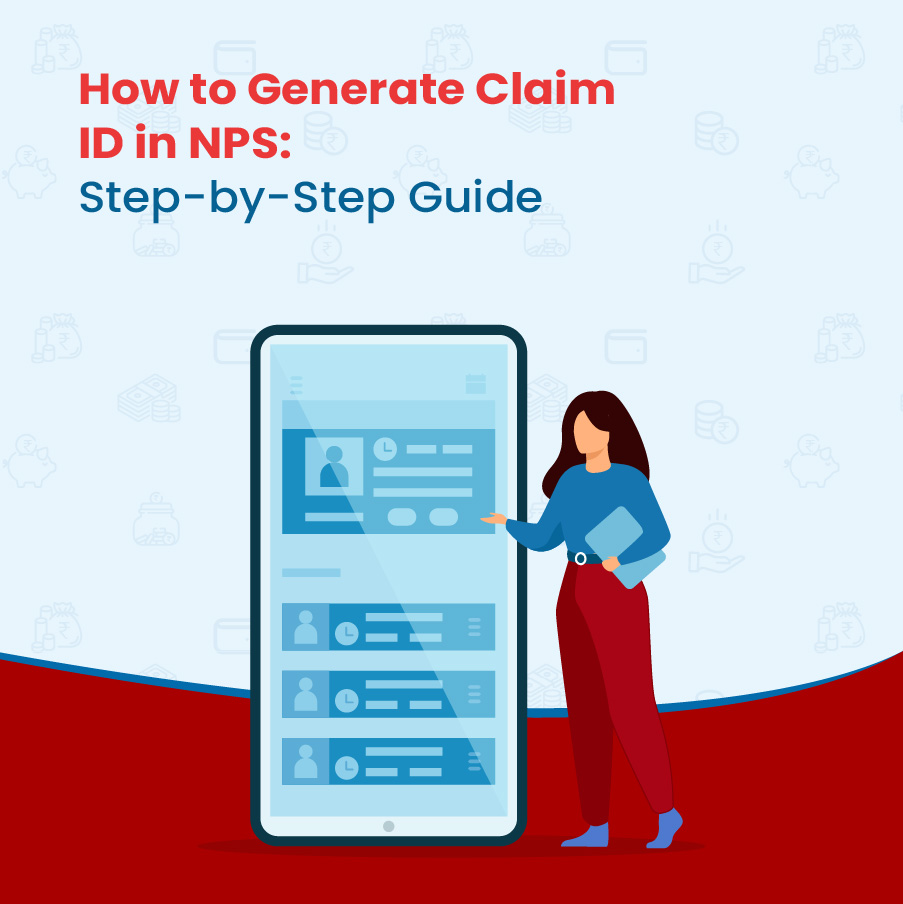
How to Generate Claim ID in NPS (Online Process)
If it is a premature exit, or if the superannuation Claim ID was not received, generate it manually.
- Log in to the CRA System: Visit the official CRA website. Log in using User ID (PRAN) and Password.
- Navigate to Exit Section: On the main dashboard, locate the menu labelled “Exit/Withdrawal Request”.
- Initiate Request: Select the option “Initiate Withdrawal” or “Initiate Generate/Cancel Claim ID”.
- Enter Details: You will be asked to confirm your PRAN and the type of withdrawal (e.g., Premature Exit).
- Submit Request: Click submit. The system will process your request and display a 10-digit Claim ID.
- Confirmation: You should receive an SMS and email notification confirming the generation.
Knowing how to generate Claim ID in NPS via this online method saves you visits to the bank or nodal office.
For additional step-by-step guidance, you can also refer to the detailed process documents provided by HDFC Pension. Here is how to access them:
- Visit the HDFC Pension Customer Service page.
- Ensure you are viewing the Subscribers tab.
- Scroll down to locate the Exit & Withdrawal section.
- Click on the withdrawal type relevant to your situation (e.g., Superannuation, Premature Withdrawal, or Partial Withdrawal) to open the specific process document.
How to Generate NPS Claim ID Offline?
If you are not comfortable with digital portals, process this offline. However, the offline method for how to generate Claim ID in NPS is slightly more time-consuming.
- Visit your POP or Nodal Office: Go to your associated Point of Presence (usually your bank branch for private subscribers) or Nodal Office (for government employees).
- Request Form: Ask for the withdrawal request form.
- Submission: Submit the form along with your KYC documents.
- Generation: The Nodal Officer will log in to their interface and generate the Claim ID on your behalf.
- Receipt: Request the Claim ID number immediately to track the status.
Even if you use the offline route, knowing how to generate Claim ID in NPS online can help you follow up better.
How to Check NPS Claim ID Status?
Once the process is initiated, verify the ID’s active status or check the withdrawal’s progress.
- Go to the CRA Website: Navigate to the “Limited Access View” or “Withdrawal Request Status View” on the CRA home page.
- Enter Details: Input your PRAN and Date of Birth.
- View Status: The system will display the current status of your NPS Claim ID.
If the status shows “Claim ID Generated”, fill out the online withdrawal form immediately.
Protecting Your Retirement Income
Getting the NPS Claim ID is the first step toward securing your retirement corpus. But while the withdrawal process is efficient, the corpus is designed for long-term security. So, do not withdraw money for every other expense in the short or long term. Moreover, understand how the withdrawal will impact your annuity income and long-term financial security. Use tools like an NPS calculator first. It can help determine whether the remaining corpus will meet annuity needs.
FAQs on NPS Claim ID
-
Can a nominee generate a Claim ID in NPS?
The nominee cannot personally log in to the subscriber’s account to create the ID number. When it comes to a death benefit claim, the nominee must turn in the actual forms (Form 303) to the POP or Nodal Office.
-
How long does it take to receive an NPS Claim ID?
For superannuation, it is generated automatically 6 months prior. It is often created instantly or within 24 hours for premature exits. Offline requests may take a few working days. It depends on the office’s processing speed.
-
What should I do if my Claim ID request gets rejected?
The reason for the rejection is normally because of the mismatched information provided. You can check the status of the NPS Claim ID number to know the reason for the rejection of the application. On correcting the information, the process can be repeated once again.
-
How do I claim NPS after retirement?
Log in to the CRA, select “Exit at Superannuation”, verify your details (Bank, Nominee, Address), select your Annuity Service Provider (ASP), and upload the documents.
-
How do I claim my NPS death claim?
The nominee must approach the POP/Nodal Office with the death certificate, PRAN card, and KYC documents, after which the claim is initiated.